
The insole specification is one of the most consequential — and most commonly underwritten — documents in a footwear development package. Brand teams often invest significant time in upper materials, outsole compounds, and last geometry, then attach a vague insole note like “soft EVA, black fabric top.” That one line of ambiguity creates a chain of sourcing risk: the supplier interprets it loosely, the pre-production sample comes back wrong, and weeks of development time are lost in back-and-forth that could have been avoided with a precise spec from the start.
This guide walks product developers, technical designers, and sourcing managers through how to specify insoles correctly — from writing the initial material brief to evaluating pre-production samples, communicating requirements to OEM suppliers, and avoiding the common spec mistakes that generate quality problems in production. Whether you’re building an insole for a running shoe, a work boot, or a casual lifestyle sneaker, the principles are the same: define what you need before you ask a supplier to produce it.
Step 1: Define the Functional Brief Before Choosing a Material
The single most common spec mistake brands make is jumping directly to material selection without first articulating the functional requirements of the insole in the finished shoe. Material selection is the output of a functional brief — not the starting point.
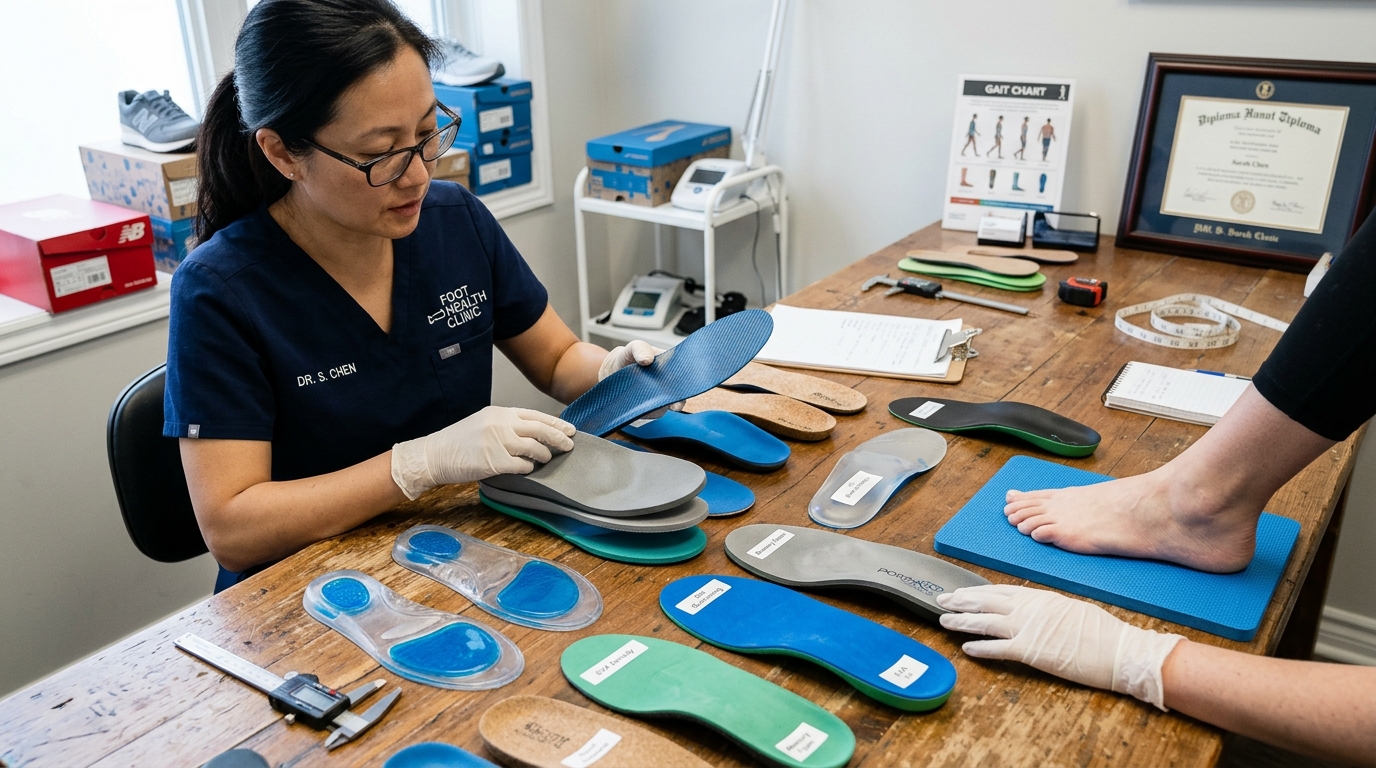
Before you write a single material parameter, answer the following questions about your product:
What shoe category is this insole going into? An everyday casual sneaker, a trail running shoe, and a steel-toe work boot each have fundamentally different insole requirements. The shoe category defines the load profile (impact vs. sustained compression vs. lateral stress), the wear duration (2 hours vs. 10-hour shifts), and the environmental exposure (gym floor vs. construction site vs. outdoor terrain).
What is the primary performance claim of the shoe? If the marketing brief says the shoe is “all-day comfortable,” the insole needs to demonstrate sustained cushioning retention — which means a tight compression set specification and documented performance data. If the shoe claims “enhanced energy return,” that has to be measurable at the insole level, not just at the midsole.
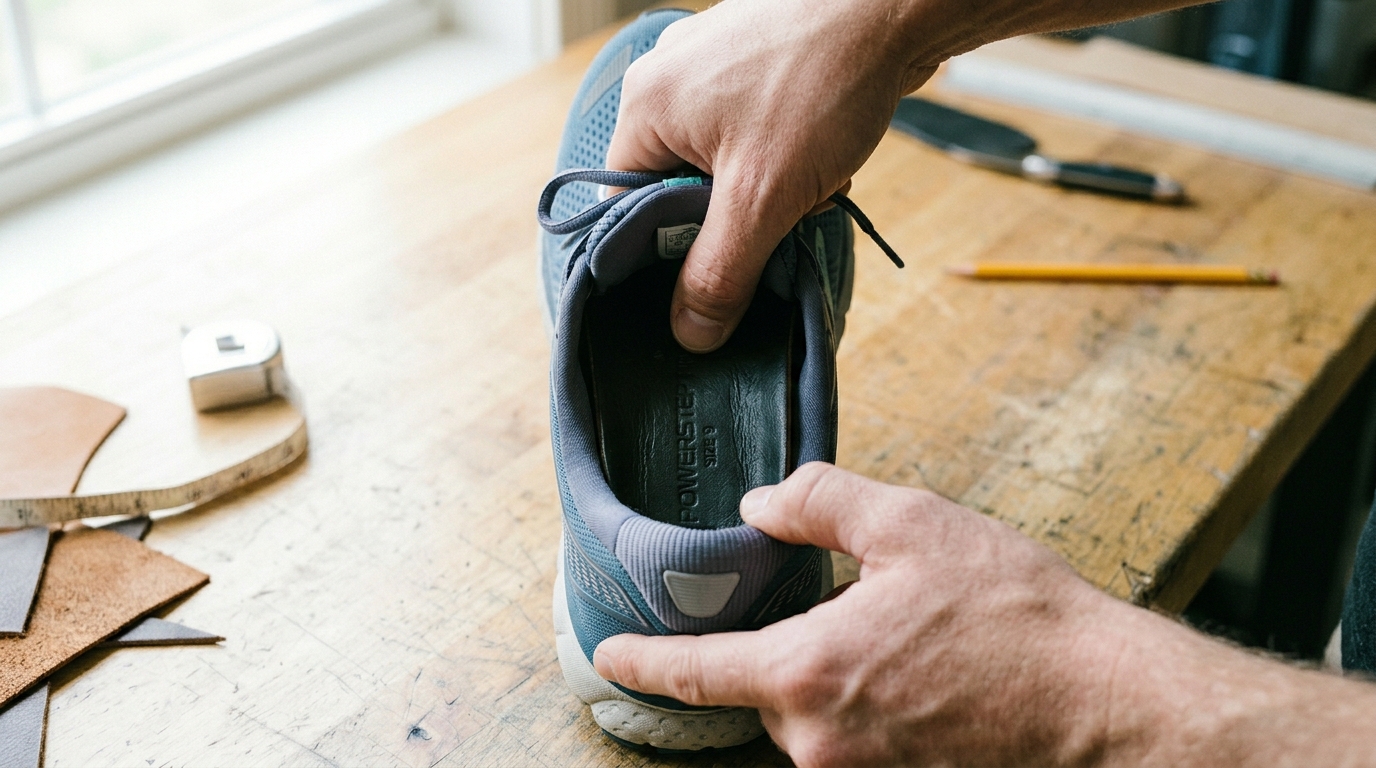
What volume is available inside the last? Interior volume is a physical constraint that determines how thick your insole can be. A dress shoe with a tight last may have 3–4 mm of available space. A running shoe with a deep heel counter and high instep may accommodate 7–10 mm at the heel. Measure your last interior — do not estimate — before specifying insole thickness. An insole that is 1.5 mm too thick will affect fit across the entire size run.
What is the end user’s expected wear pattern? An office worker wearing the shoe for 8 hours, a runner logging 30 miles per week, and a warehouse worker standing on concrete for 10-hour shifts all load an insole very differently. The expected wear pattern determines the required durability threshold — which determines the minimum acceptable compression set, density, and foam grade for the project.
Only once these questions are answered should you move to selecting material type, hardness, density, and construction.
Step 2: Write a Complete Insole Material Specification
A well-written insole material spec is one page, not one line. It defines every parameter that affects performance, fit, and appearance in the finished shoe. Here is what a complete spec should include.
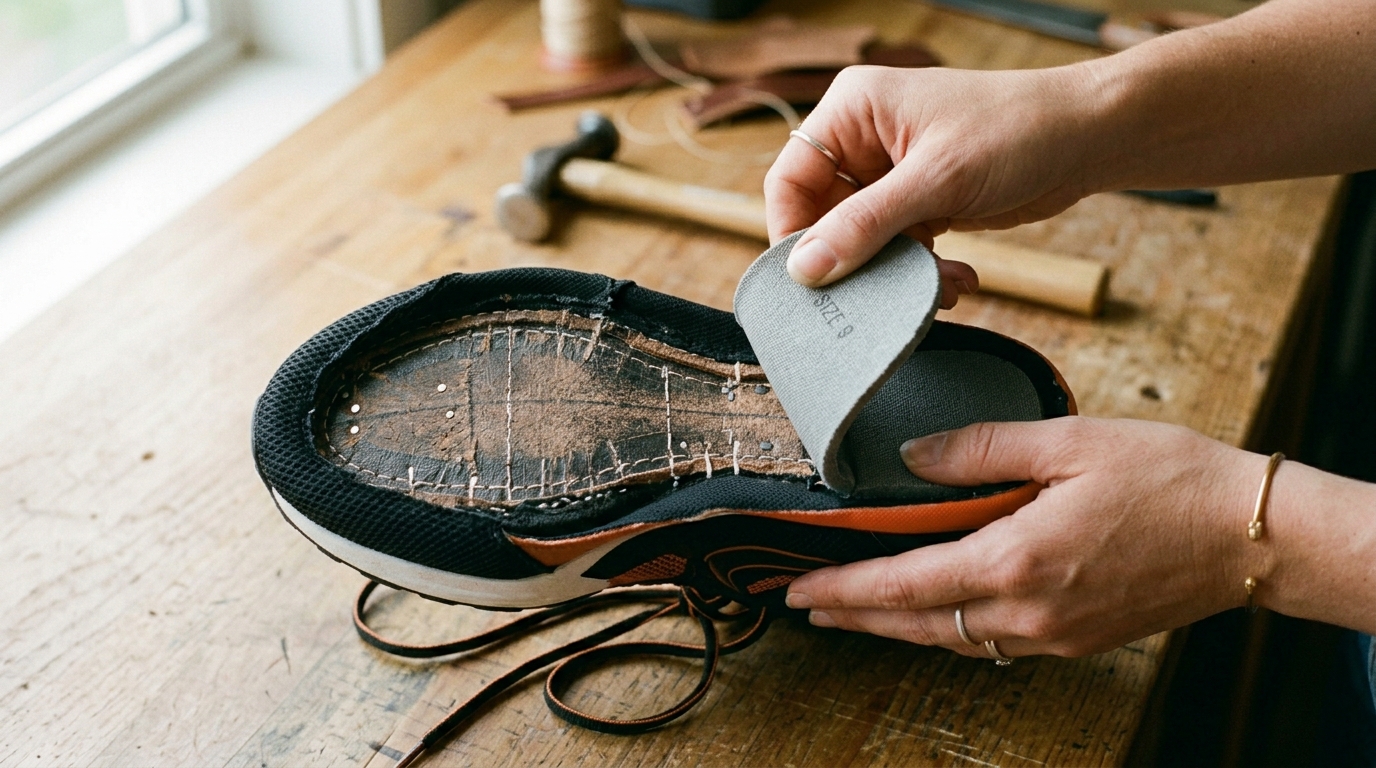
Foam body material. Specify the foam type (EVA, PU, memory foam, or composite) and the target Asker C / Shore C hardness with a tolerance band. Example: “EVA foam, 50 Asker C ± 3, tested per ASTM D2240.” Do not write “medium EVA” — medium is not a testable specification. If your construction includes multiple foam layers (e.g., a PU base with a memory foam top layer), specify each layer separately with its own hardness and thickness.
Density. Specify target density in g/cm³ alongside hardness. Example: “Density 0.22 g/cm³ ± 0.02.” Two EVA formulations at the same Asker C can have different densities, which directly affects weight, compression fatigue rate, and cost. Density specification closes that ambiguity.
Compression set. Define your maximum acceptable compression set as a pass/fail criterion. Example: “Compression set ≤ 30% after 22 hours at 25% deflection per ASTM D395 Method B.” For performance or occupational applications, tighten this to ≤ 20%. This parameter is the single most important durability indicator for foam insoles and must be tested on every pre-production sample — not assumed based on material grade.
Thickness. Specify finished thickness at defined measurement points — typically heel center, arch apex, and forefoot center. Example: “Heel: 8.0 mm ± 0.3 mm; Arch: 5.5 mm ± 0.3 mm; Forefoot: 3.5 mm ± 0.3 mm.” Thickness variation across a size run should also be defined — this is especially important for brands running more than 10 sizes, where inconsistencies compound across the run.
Top cover material. Define the top cover fabric separately from the foam core. Specify: fabric type (breathable mesh, microfiber, recycled polyester nonwoven, etc.), weight (g/m²), color, finish (plain, embossed, printed), and any functional treatments (antimicrobial finish, moisture-wicking treatment). Example: “90 g/m² recycled polyester mesh, grey, silver-ion antimicrobial treatment, FX-branded heel emboss.”
Lamination method and adhesion standard. Specify how the top cover is bonded to the foam core (flame bonding, adhesive lamination) and define a minimum peel strength. Example: “Adhesive lamination, minimum 15 N/cm peel strength per 180° peel test.” Delamination in field use is almost always a predictable spec failure — it only happens if lamination adhesion was never measured before production.
Contour and arch profile. For contoured insoles, specify arch height at the medial midfoot and heel cup depth. If you are building to a proprietary last, provide last scan data or a physical last to your supplier for insole geometry development. Do not accept a “standard” arch profile on a contoured insole without validating its fit on your actual last.
Color, appearance, and branding. Define foam color (relevant if foam is visible at the shoe’s open-throat or in marketing imagery), top cover color, any logo placement or branding elements, and trim edge finish. These are not afterthoughts — inconsistent appearance across production lots is one of the most common quality holds in volume insole programs.
Step 3: Evaluate Pre-Production Samples Systematically
Receiving a pre-production sample and deciding whether it’s “good” based on feel alone is one of the most reliable ways to approve a specification that will generate quality problems at scale. Sample evaluation should be systematic and document-driven.
Request data sheets with every sample submission. A pre-production sample should arrive with a material data sheet that includes tested hardness (Asker C), density, and compression set results from that specific production batch. If the supplier cannot provide these results, you are evaluating the sample blind — you have no way of knowing whether it meets your specification or whether the next production run will produce the same result.
Measure thickness at multiple points. Use calipers to measure the sample at heel center, arch apex, and forefoot center. Record the measurements against your spec. Do not rely on visual assessment of thickness — a 1 mm variation is often invisible to the eye but creates significant fit variance across a size run.
Conduct a basic compression set field assessment. This is not a substitute for lab testing, but it’s a useful screening step. Place the sample on a firm surface, compress it with a defined load (your body weight applied through a block on the heel zone), hold for 30 seconds, and release. Observe recovery time and recovery completeness. An insole with poor compression set will show noticeably incomplete recovery even in this simplified test. Any sample that fails this field assessment should be rejected without waiting for lab results.
Evaluate lamination adhesion. Attempt to peel the top cover from the foam at a corner edge. You should feel meaningful resistance — the bond should not release with light finger pressure. If the cover peels without effort, the lamination is insufficient for production use regardless of how the sample looks aesthetically.
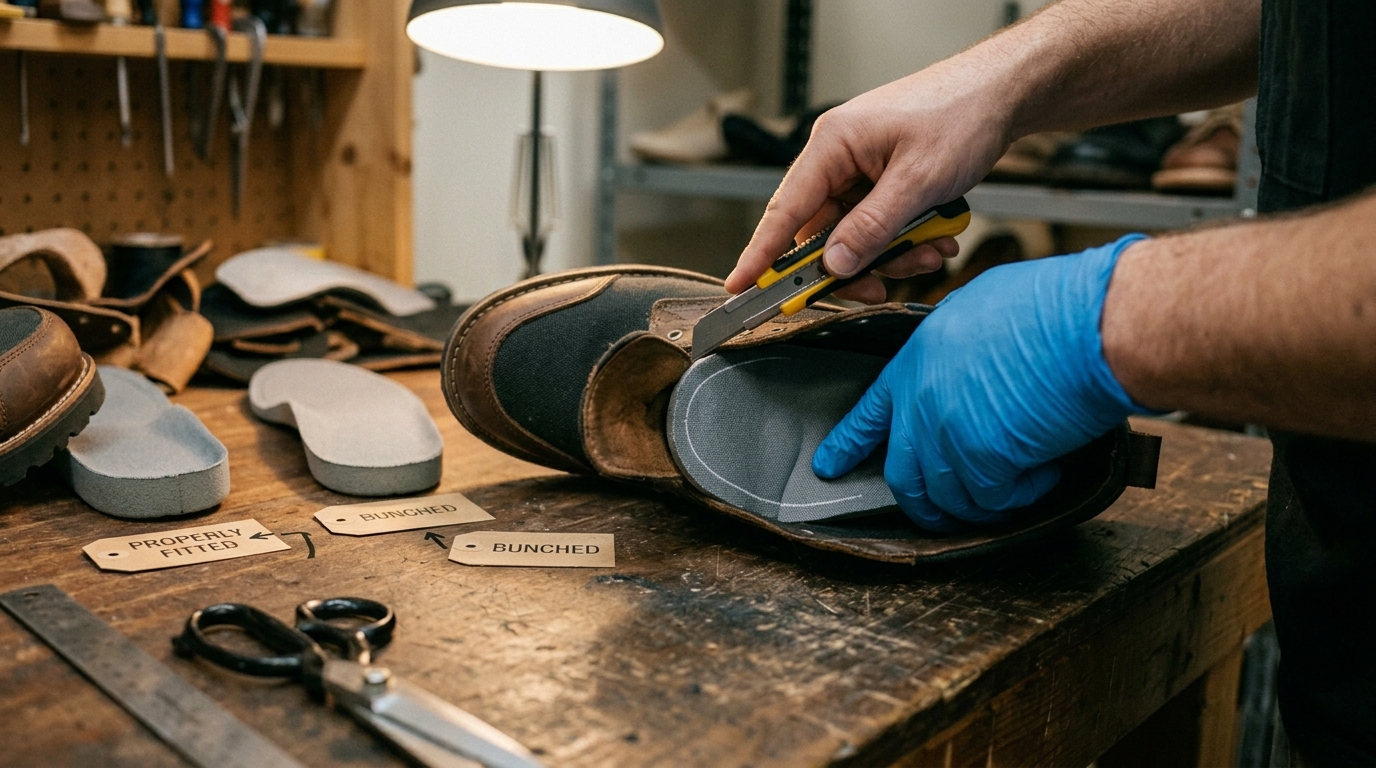
Assess contour fit on the actual last. Place the insole inside the last and check: does the arch profile meet the last’s medial midfoot at the correct height? Does the heel cup seat cleanly against the heel counter without lifting at the edges? Does the forefoot lay flat without bridging? Contour misfit on a sample is not a cosmetic issue — it is a fit problem that will affect every pair produced to that tooling.
Document your evaluation results in writing. Create a sample evaluation form that records measurements, pass/fail results for each parameter, and any corrective actions requested. This document becomes the basis for the pre-production approval and the QC baseline for production inspection.
Step 4: Communicate Requirements to Your OEM Supplier Effectively
The quality of your communication with your insole supplier directly determines the quality of what gets produced. Ambiguous briefs produce inconsistent results; clear technical specifications produce consistent ones.
Send a written spec sheet, not just a verbal description. Every parameter discussed on a call or in an email thread should be formalized in a written spec sheet before development begins. Verbal agreements are not binding in a supplier relationship and will not protect you if a production run comes back wrong. A single-page spec sheet with defined values and tolerances for every parameter is the minimum documentation standard for a professional development relationship.
Define which parameters are pass/fail versus advisory. Not all parameters carry equal weight. Compression set, foam hardness, and finished thickness are typically pass/fail — a sample that misses these cannot proceed to production regardless of other merits. Color and minor surface texture variations may be advisory — documented but not cause for rejection. Making this distinction explicit avoids supplier disputes about what “almost correct” means.
Provide a reference last or last data for contoured insoles. If your insole requires a custom arch profile or heel cup geometry, your supplier needs your last data — not a description of your arch height preference. Provide a physical last (preferred) or a certified last scan in a format your supplier’s CAD team can work from. This step is non-negotiable for any insole program where fit precision matters.
Specify your QC requirements in the purchase order. Define the inspection standard (AQL level), the inspection point (pre-shipment), and which parameters will be checked during production inspection. If you require third-party inspection, specify the agency. Building QC requirements into the purchase order — rather than invoking them after a quality failure — is what gives you contractual standing when production issues arise.
Establish a sample approval protocol. Define in writing how many sample rounds are expected before production approval, what a full approved sample set includes (signed reference samples, material data sheets, size grading samples), and who at your organization has authority to approve samples for production. Unclear approval chains are a common cause of production delays and disputed quality holds.
Step 5: Understand Break-In Behavior and Set Realistic Performance Expectations
Even a correctly specified and approved insole will behave differently in the first week of wear than it will at the 60-day mark. Understanding how EVA and other insole foams change with wear helps product developers set realistic performance expectations and communicate accurately with marketing and sales teams.
Fresh EVA insoles are slightly stiffer and more responsive than the same insole after initial wear-in. Over the first 10–20 hours of wear, the foam cells at contact zones compress and begin conforming to the wearer’s pressure pattern. Hardness at the heel and forefoot zones will decrease slightly from the as-manufactured value — which is why insoles often feel best after a few days of use rather than immediately out of the box.
After the initial break-in period, performance plateaus and then gradually declines as compression set accumulates. The rate of this decline depends on the foam formulation, the wearer’s body weight, and the intensity of activity. For brands building product lifecycle expectations, a well-specified EVA insole at 50 Asker C and 0.22 g/cm³ density should provide consistent cushioning performance for 300–500 hours of moderate use before significant compression fatigue sets in.
For athletic and occupational footwear programs, building a replacement recommendation into the product’s care guide is good practice and directly supports both customer satisfaction and repeat purchase behavior. Brands that educate their customers on insole lifecycle management — and make it easy to source replacement insoles — create a stronger long-term relationship than those who leave customers to discover performance decline on their own.
Common Spec Mistakes Footwear Brands Make
Based on recurring issues in insole development programs, the following spec mistakes generate the most preventable quality problems.
Specifying hardness without density. Two EVA insoles with the same Asker C can have significantly different densities, weights, and compression fatigue rates. Always specify both parameters.
Using subjective descriptors instead of measured values. “Soft,” “medium,” “firm,” “comfortable” — these words mean different things to different suppliers and cannot be tested. Replace them with Asker C values and density ranges every time.
Not specifying compression set as a pass/fail criterion. Compression set is the most predictable source of field quality complaints in insole programs. If it’s not on your spec sheet as a pass/fail parameter with a defined test method, it won’t be tested before production approval.
Accepting samples without material data sheets. A sample that arrives without hardness, density, and compression set test results is an unevaluated component. You cannot make a responsible production approval decision without test data.
Ignoring top cover lamination adhesion. Delamination in field use is almost never a surprise — it is the result of accepting a sample with insufficient lamination adhesion and hoping production will be better. It won’t be. Test peel strength on every sample.
Not validating contour fit on the actual last. An arch profile developed to a generic last will not fit a proprietary last correctly. Always validate contoured insole samples on your actual last, not on a reference last from the supplier.
Leaving QC requirements out of the purchase order. If your QC requirements are not in the purchase order, you have no contractual basis for rejecting a non-conforming shipment. Write your inspection standard, AQL level, and pass/fail parameters into the PO before production starts.
FAQ
What parameters should be on an insole spec sheet?
A complete insole spec sheet should include: foam material type, Asker C hardness with tolerance (e.g., 50 ± 3 Asker C, tested per ASTM D2240), density in g/cm³ with tolerance, maximum compression set percentage with test method and conditions (e.g., ≤ 30% per ASTM D395 Method B), finished thickness at defined measurement points with tolerances, top cover material type and weight (g/m²), lamination method and minimum peel strength, contour/arch height specifications, and any branding or appearance requirements. Each parameter should have a defined test method so results can be verified against the spec.
How do I communicate insole requirements to an OEM supplier?
Send a written spec sheet with defined values and tolerances for every critical parameter — do not rely on verbal descriptions or emails. Provide a physical last or certified last scan data for any contoured insole development. Define which parameters are pass/fail versus advisory. Specify QC requirements (inspection standard, AQL level, inspection point) in the purchase order before production begins. Establish a written sample approval protocol that defines how many rounds of samples are expected and who has authority to approve for production.
How do I evaluate insole samples before approving for production?
Require a material data sheet with each sample submission showing tested hardness, density, and compression set results. Measure finished thickness at heel, arch, and forefoot using calipers. Conduct a basic compression field assessment to screen for poor foam recovery. Test lamination adhesion by attempting to peel the top cover at an edge. Validate contour fit by placing the sample in your actual last — not a generic last. Document all measurements and pass/fail results in writing as the basis for your production approval decision.
What are the most common insole spec mistakes footwear brands make?
The most common mistakes are: specifying hardness without density (producing inconsistent weight and durability); using subjective descriptors like “soft” or “comfortable” instead of measured Asker C values; omitting compression set as a pass/fail criterion (the most frequent source of field quality complaints); accepting samples without material data sheets; not testing lamination adhesion before production approval; failing to validate contoured insole fit on the actual last; and leaving QC inspection requirements out of the purchase order.
How do I specify insole thickness correctly for a production run?
Specify finished thickness at defined measurement points — typically heel center, arch apex, and forefoot center — with tolerances (e.g., ± 0.3 mm for standard programs). Do not specify a single nominal thickness for the entire insole, as contoured insoles vary in thickness by zone. Measure the available interior volume in your last before specifying thickness, and define thickness tolerance across the size run to prevent fit variation in larger sizes. Tighter tolerances (± 0.2 mm) may be needed for dress shoes or low-volume constructions where interior fit is critical.
What QC requirements should be included in an insole purchase order?
The purchase order should specify: the inspection standard and AQL level (e.g., AQL 2.5 per ANSI/ASQ Z1.4), the inspection point (pre-shipment, in-line, or both), the list of parameters to be checked during production inspection with pass/fail values, whether third-party inspection is required and which agency, and what constitutes grounds for shipment hold or rejection. QC requirements written into the PO give you contractual standing when production issues arise — verbal agreements or post-production disputes do not.
Writing a precise insole specification is a foundational product development skill — one that directly affects comfort performance, production consistency, QC efficiency, and the long-term reputation of your footwear brand. At FX Footwear (Fuxiang Group), we work with brand teams and product developers from initial spec through production approval, providing material data, pre-production testing documentation, and technical guidance at every stage. Our team can help you build the right spec for your project — and produce to it consistently at scale. Contact us to discuss your insole development requirements.