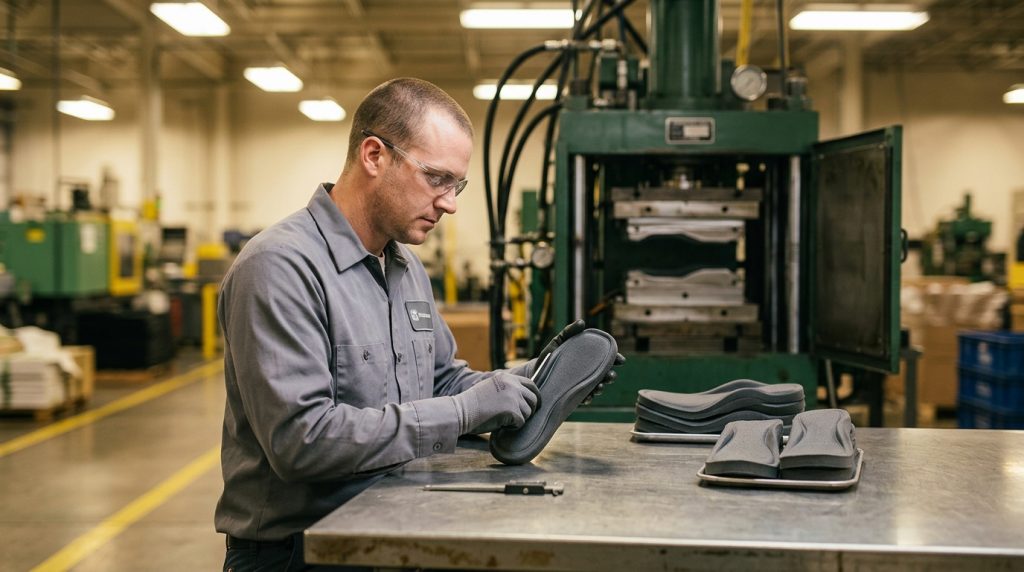
Every time you lace up a running shoe, your foot presses against the tongue. That thin padded piece absorbs lace pressure, prevents hot spots, and shapes how the shoe feels within the first three seconds of wear. Compression molded foam tongues are the industry-standard method for producing that component at scale — and the process behind them is more involved than most product developers realize.
Here’s what happens: a pre-cut foam blank gets placed into a heated steel mold, the press closes under controlled temperature and pressure, and the foam permanently reshapes into a contoured tongue with specific density zones, surface textures, and dimensional precision. The whole cycle takes 3–8 minutes depending on material and thickness. But getting there — from tooling design to final QC — involves decisions that directly affect cushioning feel, weight, durability, and per-unit cost.
This article breaks down the full compression molding process for shoe tongues, covering tooling, material selection, foam density control, and surface finishing. Whether you’re speccing tongues for a performance runner or a casual lifestyle shoe, the manufacturing details here will help you make better sourcing decisions.
Tooling Design for Tongues
The mold is where everything starts. And it’s where most of your upfront investment goes.
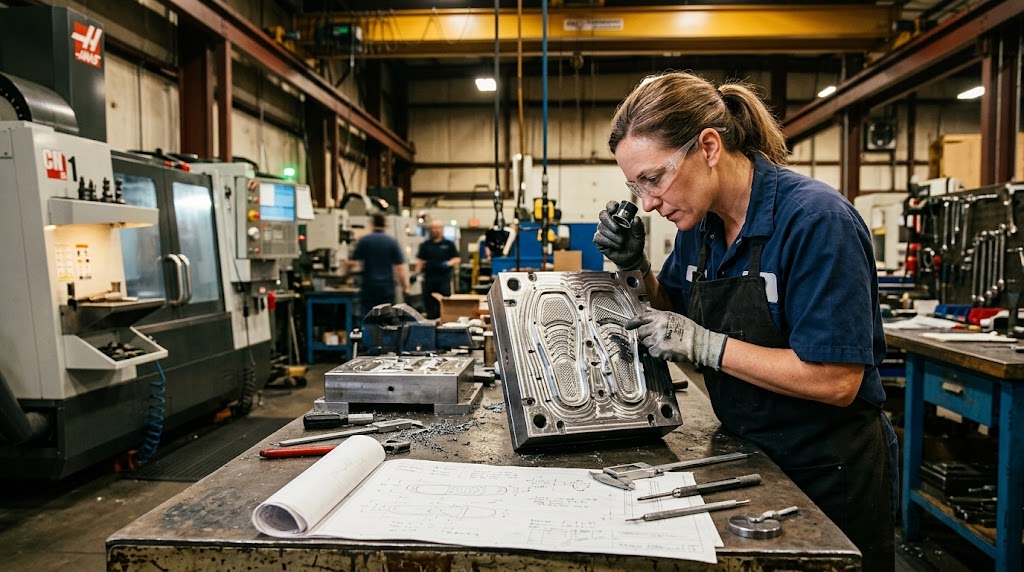
Compression molds for foam tongues are typically CNC-machined from aluminum alloy (for sampling and short runs) or steel (for production volumes above 50,000 pairs). A single mold cavity produces one tongue — left and right tongues share the same cavity in most designs since they’re symmetrical, though gusseted or asymmetric tongues require separate cavities.
What the mold actually controls:
- Overall shape and taper — tongues thin out from center to edges, usually from 8–10mm down to 3–4mm
- Surface texture — the cavity face imparts texture directly onto the foam (more on this below)
- Logo deboss or emboss — brand marks get machined into the cavity surface at 0.5–1.2mm depth
- Density zones — deeper cavity sections create thicker, softer zones under the lace line; shallower sections compress the foam more for firmer edges
Tooling lead time runs about 10–15 business days for a new mold, depending on complexity. Simple flat tongues with uniform thickness? Closer to 10. Contoured tongues with multiple density zones and debossed logos? Expect the full window.
One thing that surprises first-time buyers: mold cost per size. You don’t need a separate mold for every half-size. Tongue dimensions typically follow a size-run grading pattern where 2–3 molds cover a full men’s or women’s size range (e.g., S/M/L groupings for sizes 6–8, 8.5–10.5, 11–13). This keeps tooling investment manageable — usually $800–$2,500 per mold depending on material and complexity.
Material Selection: EVA vs. PU vs. Blends
Foam tongue material isn’t one-size-fits-all. The base polymer determines compression behavior, weight, durability, and cost — and different shoe categories demand different tradeoffs.
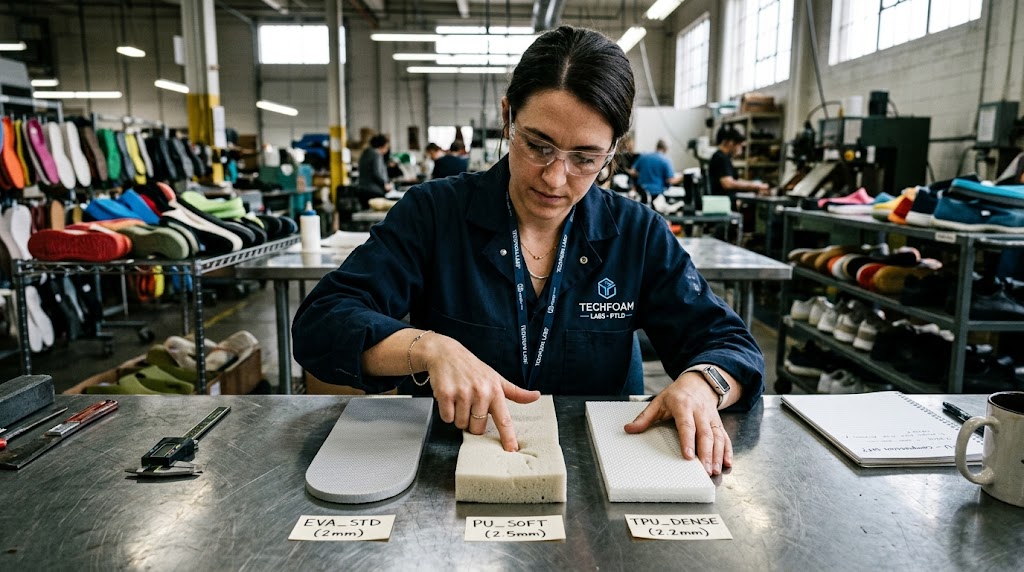
EVA (Ethylene-Vinyl Acetate) dominates the tongue market. It’s lightweight, compresses cleanly in the mold, and costs less per kilogram than alternatives. For tongues, EVA typically sits in the 25–40 Asker C hardness range (±3 tolerance), with athletic shoes trending softer (25–30 Asker C) and work boots going firmer (35–40 Asker C). Single-density EVA tongues work fine for casual and lifestyle footwear. Performance shoes often use dual-density constructions — softer foam in the center pad area, firmer foam at the edges for structure.
Open-cell PU foam shows up in premium comfort shoes and some hiking boots. PU’s advantage for tongues is compression resistance over time: a PU tongue holds its original thickness and cushioning properties longer than EVA through repeated lace tightening. The breathability of open-cell PU also helps with moisture management. The tradeoff? PU tongues weigh more and cost roughly 30–50% more per unit than equivalent EVA tongues.
Blended foams — EVA compounded with rubber or PE — offer specific performance tweaks. An EVA/rubber blend tongue on a trail shoe resists abrasion from debris better than straight EVA. Some brands spec recycled EVA compounds for sustainability positioning, which we can source under GRS-compliant supply chains with full traceability documentation.
(Quick note: if you’re also sourcing insoles alongside tongues, the material knowledge transfers directly. Our foam insole manufacturer programs use many of the same EVA compounds and similar compression molding parameters.)
The material you choose also affects how the foam behaves during molding — which brings us to the actual pressing process.
The Compression Molding Cycle
Here’s what a single molding cycle looks like, step by step:
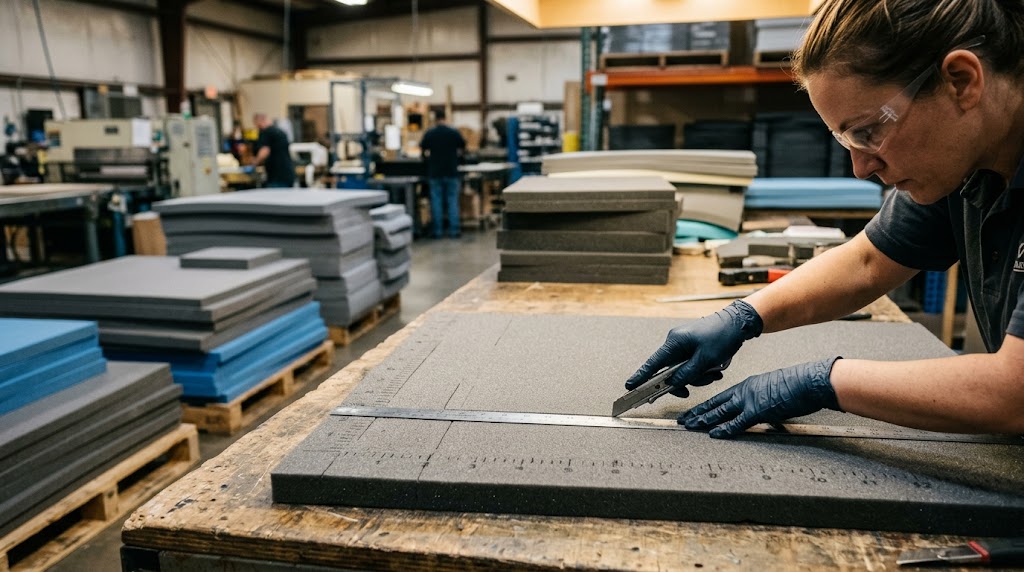
1. Foam blank preparation. Raw foam sheet stock (pre-foamed to a specific density and thickness) gets die-cut into blanks slightly larger than the final tongue dimensions. The blank volume must exceed the mold cavity volume by 15–25% — this overfill ratio determines final compression and density.
2. Mold preheating. The mold heats to 155–175°C for EVA (lower for PU, typically 130–150°C). Temperature accuracy matters here: ±2°C variance across the mold surface can create visible density inconsistencies in the finished tongue.
3. Loading. The blank goes into the bottom cavity. Some constructions layer a textile top cloth or mesh over the foam before closing — this gets heat-bonded to the foam surface during the press cycle, eliminating a separate lamination step.
4. Press closure. Hydraulic pressure closes the mold. Typical press force: 50–150 tons depending on cavity count (multi-cavity molds running 4–8 tongues per cycle are standard for production). The foam fills every contour of the cavity. Excess material flows into flash channels around the cavity perimeter.
5. Dwell time. The mold stays closed under heat and pressure for 3–8 minutes. During this phase, the EVA cross-links (vulcanizes), permanently setting the new shape and density. Shorter dwell = undercured foam that rebounds toward its original shape. Longer dwell = overcured foam that gets stiff and brittle. Finding the sweet spot is where experienced tooling engineers earn their keep.
6. De-mold and trim. The press opens, the tongue gets pulled from the cavity (release agents help here), and the flash — that thin ring of excess foam around the edges — gets trimmed by hand or die-cut. After cooling for 10–15 minutes, the tongue reaches its final stable dimensions.
| Parameter | EVA Tongues | PU Tongues |
|---|---|---|
| Mold temperature | 155–175°C | 130–150°C |
| Dwell time | 4–8 min | 3–6 min |
| Overfill ratio | 15–25% | 10–20% |
| Cooling time | 10–15 min | 8–12 min |
| Typical density | 0.10–0.20 g/cm³ | 0.18–0.30 g/cm³ |
Multi-cavity production molds typically output 800–1,500 pairs per shift depending on cycle time and cavity count. That scales quickly — which is one reason compression molding remains the dominant process for foam tongues even as injection molding gains ground in other components.
Foam Density Variation Control
This is where tongue manufacturing gets genuinely tricky. A tongue isn’t supposed to feel the same everywhere.
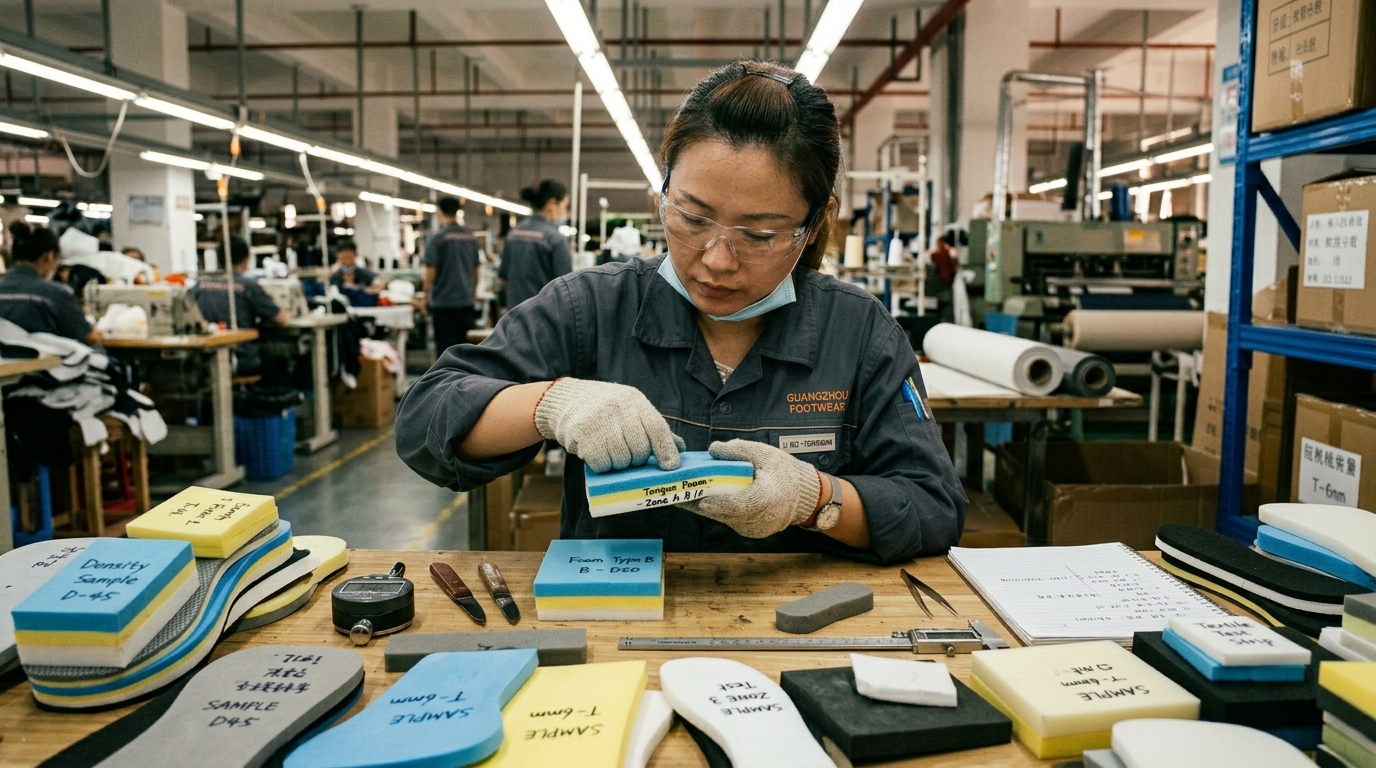
Under the lace area — roughly the central third of the tongue — you want lower density and softer compression. This zone absorbs lace pressure directly and determines whether the wearer feels hot spots during long runs. At the edges and at the attachment point where the tongue connects to the vamp, you want higher density for structural integrity and resistance to folding.
Three methods control density variation within a single compression molded tongue:
Variable cavity depth. The simplest approach. Deeper sections of the mold cavity compress the foam blank less, resulting in lower density and softer feel. Shallower sections compress more, creating firmer zones. This is designed into the mold from the start and can’t be adjusted after machining.
Pre-shaped blanks. Instead of a uniform-thickness blank, the die-cut blank has built-up areas (thicker foam pads pre-bonded to the base sheet) placed where softer cushioning is needed. When the mold closes, these thicker areas compress more in absolute terms but end up at lower relative density because there’s more material filling the same cavity depth.
Multi-layer lamination. Two or more foam sheets of different hardness get stacked before molding. A 30 Asker C layer against the foot, a 40 Asker C layer against the laces. The heat and pressure bond them together during the press cycle. This is the most expensive approach but gives the most precise control.
For what it’s worth, density variation control in tongues follows the same principles used in multi-density insole construction. If you’ve worked with our supercritical CO2 foam insole programs, you’ve already seen how foam density mapping translates to targeted performance zones — the logic applies across components.
Surface Finish and Textile Bonding
What the wearer’s foot touches isn’t bare foam. It’s a finished surface — and how that surface gets created during (or after) molding affects both feel and branding.
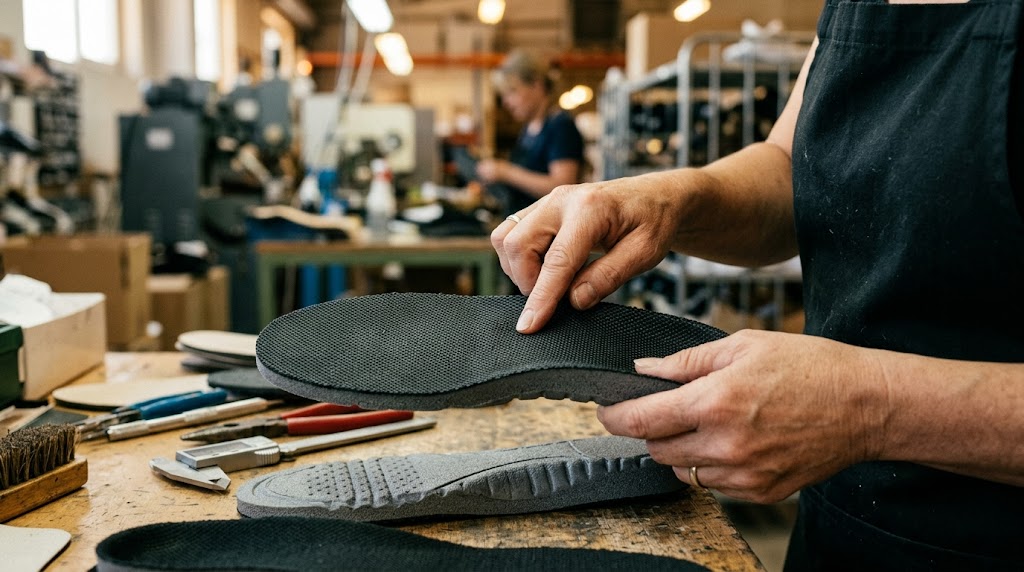
In-mold textile bonding is the most efficient method. A pre-cut piece of mesh, woven fabric, or knit gets placed over the foam blank before the mold closes. Heat and pressure bond the textile directly to the foam surface without adhesive in many cases (though some constructions use a thin hot-melt adhesive film between layers for additional peel strength). The textile conforms to any mold textures, including debossed logos.
Mold surface textures transfer directly to the foam or textile. Common patterns include leather grain, fine dot arrays, and linear brushed textures. The texture gets machined or etched into the mold cavity, so every tongue from that mold carries the identical pattern. Changing textures means modifying or replacing the mold.
For branding on tongues, the standard approaches include:
- Heat transfer print — applied to the textile surface post-molding; best for multi-color graphics
- Screen print — logo application directly onto the top cloth; durable and cost-effective
- Emboss/deboss — machined into the mold cavity; creates permanent dimensional branding that won’t wear off
Some performance running tongues skip textile altogether and use a bare foam surface with a skin formed during the molding process. The mold’s polished cavity creates a smooth, slightly sealed foam surface that reduces friction. HOKA uses this approach on several of their road running models, for example.
The surface finish decision also affects how the tongue interacts with supercritical foam cushioning in the insole below it — a smooth-surface tongue slides less against high-rebound insole materials, which can improve or worsen fit depending on the upper construction.
FAQ
What foam is used for shoe tongues?
EVA is the most common foam for compression molded shoe tongues, typically in the 25–40 Asker C hardness range. Open-cell PU foam is used for premium applications requiring superior compression resistance over time.
How long does tongue tooling take?
New compression mold tooling for foam tongues takes approximately 10–15 business days, depending on complexity. Simple flat-profile tongues sit at the shorter end; contoured multi-density designs take longer.
Can tongue foam density vary by zone?
Yes. Variable cavity depth in the mold, pre-shaped blanks, and multi-layer lamination all create different density zones within a single tongue — softer under the laces, firmer at the edges.
What’s the cost range for tongue molds?
Tongue compression molds typically cost $800–$2,500 per mold depending on material (aluminum vs. steel), cavity complexity, and surface texture requirements.
How are logos applied to foam tongues?
Logos can be debossed or embossed directly into the mold cavity for permanent dimensional branding. Post-molding options include heat transfer printing and screen printing on the textile surface.
FX Footwear (Fuxiang Group) manufactures foam tongues alongside insoles, midsoles, and other upper components across facilities in China, Vietnam, and Indonesia. If you’re developing a new shoe program and want to consolidate tongue, insole, and midsole sourcing under one supplier with end-to-end production control, reach out to our team for a quotation — we’ll respond within 48 hours for standard constructions.