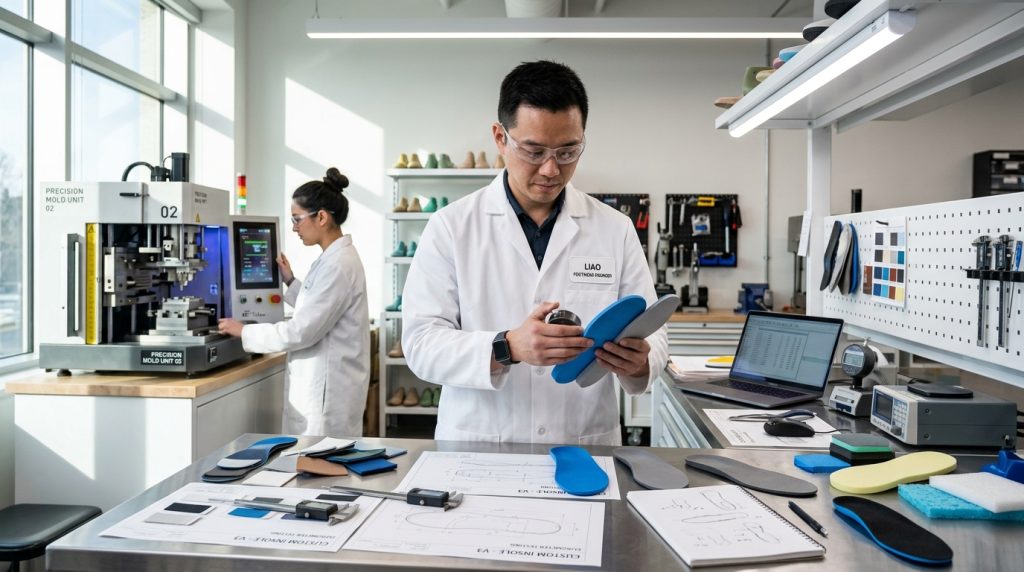
Bringing a new insole to market is one of the most detail-intensive decisions a footwear brand, retailer, or OEM buyer can make. Whether you’re launching a performance running line, a workplace safety boot, or a private-label comfort collection, partnering with the right custom insole manufacturer shapes everything — from material selection and biomechanical performance to lead times and unit economics. This guide walks you through the entire development journey, from the first design conversation to full-scale production, so you can move faster, avoid costly mistakes, and get a finished product that genuinely delivers for your end customer.
Step 1: Define Your Insole Brief
Every successful custom insole project starts not in the factory, but on paper — or a shared document between you and your development team. Before a single gram of EVA is cut or a last is pulled, you need a clear product brief that answers four foundational questions: Who is the end user? What shoe category will this insole live in? What performance or comfort outcome are you promising? And what is your target cost per unit?

The end-user profile matters more than most buyers realize. An insole destined for a warehouse worker standing for ten-hour shifts demands completely different density, arch support geometry, and top-cloth durability than one designed for a weekend trail runner or a child’s school shoe. Getting this profile wrong early means expensive tooling revisions later, which is why experienced development teams push hard for specificity at this stage.
Your target cost per unit also needs to be established before — not after — material conversations begin. Material choices drive cost dramatically. A single-layer die-cut EVA insole and a multi-layer construction with memory foam top, structured arch shell, and moisture-wicking fabric cover can differ by 400–600% in unit cost. Knowing your price ceiling lets the development team reverse-engineer a construction that hits your performance requirements without overshooting the budget.
Step 2: Material Selection & Construction
With a clear brief in hand, the next phase is material specification — and this is where working with a knowledgeable custom insole manufacturer pays dividends immediately. The base layer is typically the most consequential decision. EVA (ethylene-vinyl acetate) remains the industry workhorse for good reason: it’s lightweight, tunable across a wide density range, cost-effective at scale, and compatible with injection molding, compression molding, and die-cutting processes alike. If you’re building a foundational everyday comfort insole, an EVA insole manufacturer with strong compression-molding capabilities is often the most efficient starting point.
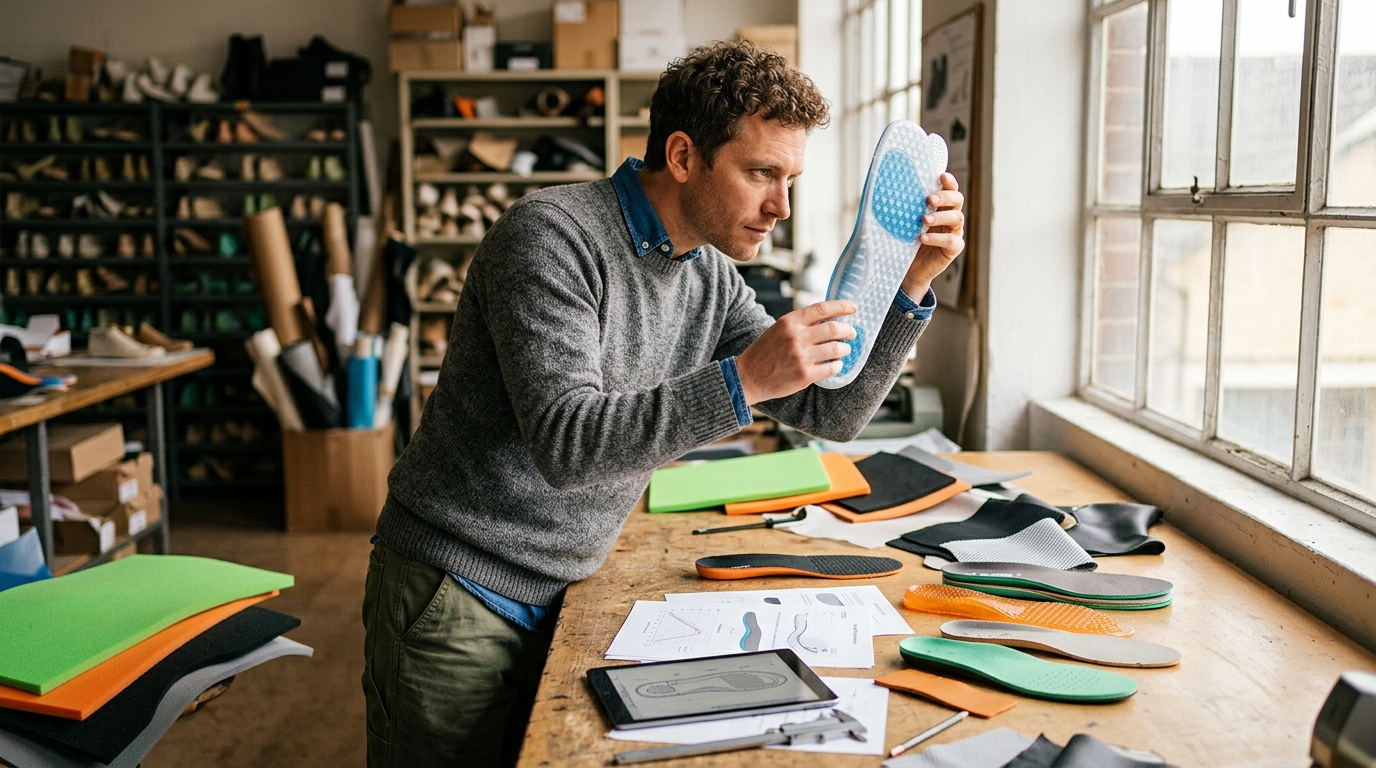
Beyond EVA, buyers today have meaningful choices across foam types and top cloth finishes:
- PU (polyurethane) foam — superior rebound and longevity under repeated compression; a better fit for premium or occupational lines where durability is a selling point
- Memory foam top layers — add cushioning responsiveness and are popular in retail comfort categories
- Performance foam technologies — newer compounds that dramatically change the energy-return profile without adding weight
- Top cloth — the layer the foot actually contacts; decisions here involve breathability, antimicrobial treatment, moisture management, and abrasion resistance
Construction architecture — how many layers, how they’re bonded, whether there’s a rigid arch shell or a full-length flexible base — flows logically from the use case. A simple flat insole for a children’s casual shoe might be a single-component die-cut piece. A sport or functional insole might combine a structured base, a foam cushioning layer, a gel pod, and a treated fabric top — all laminated together with precision adhesives. The construction spec sheet that emerges from this phase becomes the technical blueprint your factory works from for every subsequent step.
Step 3: Prototyping & Sampling Process
The prototype stage is where your insole concept becomes a physical object you can test, flex, compress, and wear. A competent custom insole manufacturer will typically produce an initial sample within two to four weeks of receiving a finalized spec sheet, depending on complexity. Simple constructions — single-layer EVA with a standard top cloth — can turn faster. Complex multi-component builds with proprietary tooling take longer, and it’s worth budgeting for that time honestly rather than optimistically.
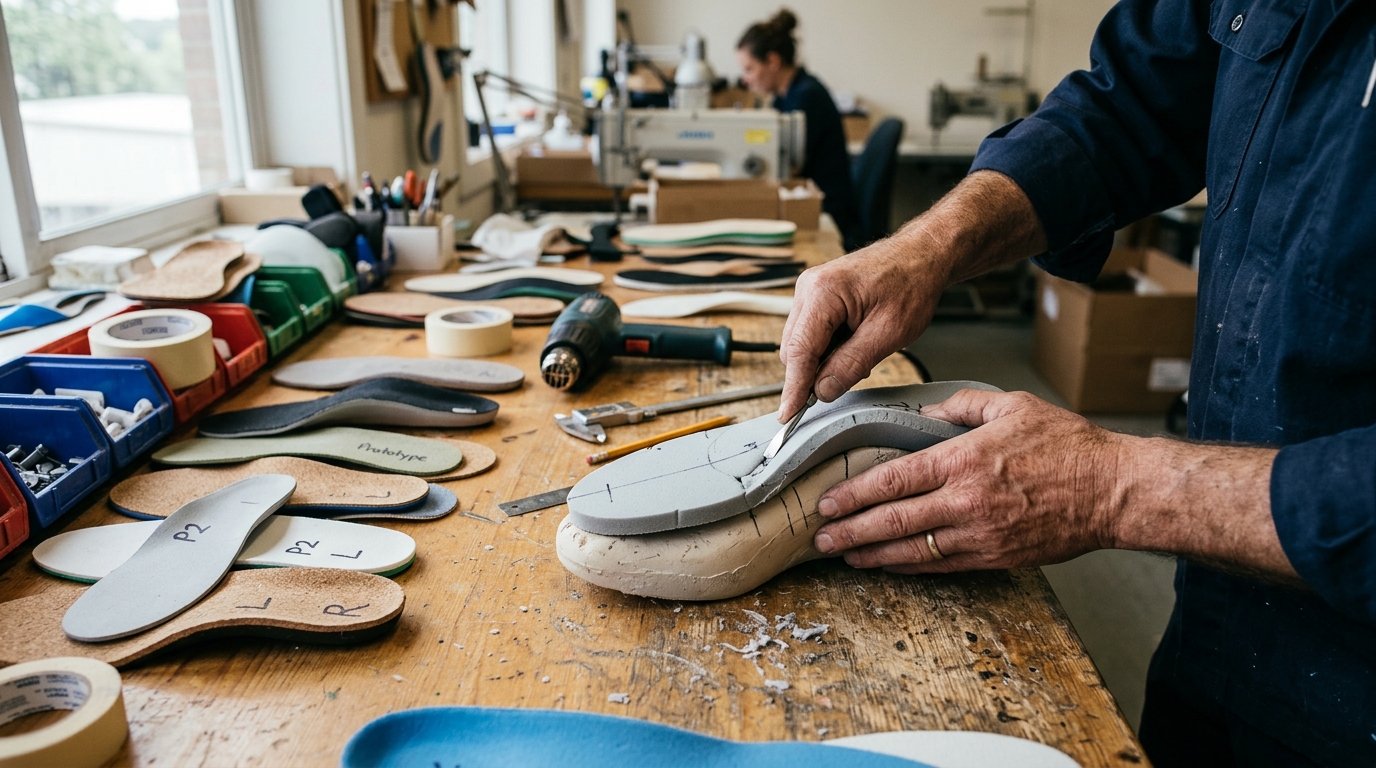
Your first sample (commonly called an S1 or Proto 1) is rarely production-ready, and it shouldn’t be expected to be. It exists to validate construction logic, check dimensional accuracy against your lasts, test the feel of material combinations, and identify anything that needs adjustment before the clock starts ticking on tooling investment. Common first-sample issues include arch height that doesn’t align with the last contour, top cloth delaminating at the toe flex point, or density being slightly off the target Shore hardness. These are normal, solvable problems — but catching them at the S1 stage costs almost nothing compared to catching them in a production run.
Feedback loops between sample rounds should be documented precisely. Vague feedback like “the cushioning feels too soft” is hard to act on; “reduce top foam density by approximately 10%, maintain current base EVA spec” gives the factory something measurable to work with. Most projects reach a production-approved sample (PAC) within two to three sample rounds, though highly technical constructions or projects with strict regulatory requirements may take longer. If you’ve previously worked through wholesale insoles sourcing decisions around MOQ and pricing, you’ll already know how sample costs factor into your total development budget.
Step 4: Tooling, Testing & Approvals
Once a sample is approved for production, the project moves into tooling — the phase most buyers underestimate both in importance and in cost. Tooling refers to the molds, dies, and fixtures required to produce your insole at volume with consistent dimensions and performance. For compression-molded EVA insoles, this typically means aluminum molds machined to your exact last profile and arch geometry. Tooling costs vary widely by complexity: a straightforward flat die-cut insole may require minimal tooling investment, while a full-length compression-molded insole with a structured arch shell can require multiple molds at meaningful cost.
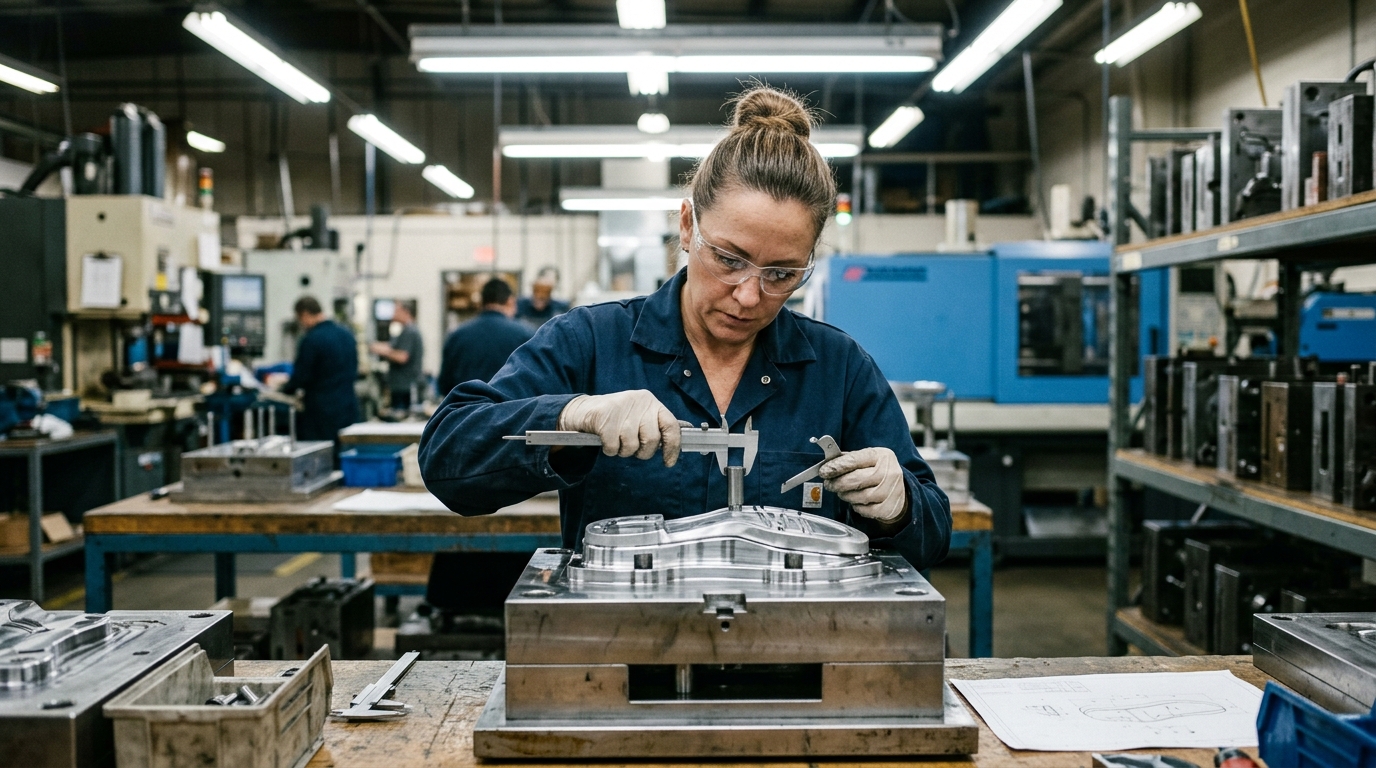
Tooling is a one-time investment that amortizes across your production volume, which is why it’s so important to get your design finalized before molds are cut. Changes after tooling is complete — even seemingly minor ones like adjusting arch height by 2mm — often require new molds or costly modifications. This is also why the sample approval process in Step 3 is not a formality; it’s the last practical moment to make design adjustments at low cost.
Parallel to tooling, leading manufacturers conduct material and performance testing against relevant standards. Depending on your target market and shoe category, applicable tests might include ASTM compression set, slip resistance evaluation, colorfastness testing on the top cloth, chemical compliance checks (REACH, California Prop 65, CPSIA for children’s products), and physical durability testing under repeated flexion. A factory with an in-house testing lab can turn these results faster and flag issues before bulk production begins. For sourcing teams working with a capable shoe insole manufacturer that handles both development and compliance documentation, this stage is substantially smoother than it would be with a factory that outsources all testing.
Step 5: Production, QC & Delivery
With tooling confirmed and a production-approved sample signed off, your order moves to the production floor. For most custom insole programs, standard bulk lead times run between 45 and 75 days from PO confirmation, though this varies by order volume, construction complexity, and factory workload. Planning your production calendar backward from your retail or delivery date — accounting for ocean freight transit of 15–30 days to US ports depending on origin — is essential to avoid the kind of last-minute air freight costs that quietly destroy margin.
Quality control during production happens at multiple checkpoints:
- Incoming material inspection — verifies that foam densities, top cloth specs, and adhesives match approved standards before they enter the line
- In-line QC checks — validates dimensional accuracy, lamination integrity, and visual appearance at regular intervals throughout the run
- Final random inspection — typically uses AQL 2.5 standards for general goods to validate completed cartons before shipment
- Pre-shipment inspection reports — buyers who request these and retain the right to conduct third-party audits have significantly fewer surprises on arrival
Packaging and labeling are the final production considerations that often get less attention than they deserve. Custom insole programs may require retail-ready packaging with hang tags, barcodes, and size runs organized by carton; others ship bulk in polybags sorted by size. Getting your packaging spec into the production order early — not as an afterthought two weeks before shipment — keeps the timeline clean. If you’re scaling into a larger program, a factory experienced in working with a range of construction types — from basic cushioning all the way through to specialized functional builds — will give you the flexibility to evolve your line without switching manufacturing partners. For buyers exploring more specialized builds, options like orthotic insoles for running demonstrate the breadth of construction types a full-service manufacturer can support.
FAQ
The questions below cover the topics buyers ask most often when starting a custom insole program. If your question isn’t answered here, the FX Footwear team is happy to walk through the specifics of your project directly.
FAQ: How long does custom insole development take?
A typical custom insole development timeline runs between 10 and 16 weeks from initial brief to production-ready approval, though this varies significantly by construction complexity. Simple single-layer insoles can be prototyped and approved faster; multi-component builds with proprietary tooling take longer. Production itself adds another 45–75 days plus transit time. Buyers who front-load the brief and spec process — arriving at the factory with a detailed technical brief rather than a general concept — consistently shave weeks off the total timeline.
FAQ: What’s the MOQ for custom insoles?
MOQ depends heavily on construction type, tooling requirements, and the manufacturer’s production setup. For stock-base insoles with custom top cloth or branding, MOQs can be as low as 500–1,000 pairs per size run. For fully custom compression-molded constructions with dedicated tooling, MOQs typically start at 3,000–5,000 pairs per style, sometimes higher. Discussing MOQ expectations early — ideally before the design brief is finalized — helps the development team recommend construction approaches that fit your volume reality.
FAQ: Who owns the tooling after development?
Tooling ownership is a negotiated commercial term and varies by manufacturer. In many cases, the buyer pays for tooling and owns it outright, meaning the molds cannot be used for other customers and can (in principle) be transferred to another factory. In other arrangements, the manufacturer subsidizes tooling in exchange for a volume commitment. Always clarify tooling ownership in writing before development begins — vague agreements on this point are a common source of disputes when buyers want to switch suppliers or scale to a secondary source.
FAQ: Can custom insoles be US-market certified?
Yes, though the specific certifications required depend on your product category and claims. Insoles for general retail use typically need to meet chemical compliance standards including REACH (for EU), CPSIA (for children’s products in the US), and California Proposition 65 limits on restricted substances. Insoles making medical or orthotic claims may require FDA clearance as a medical device. A capable custom insole manufacturer will have experience navigating these requirements and can provide compliance documentation, third-party test reports, and material safety data sheets as part of the development package.
FAQ: What info is needed for a sample quote?
The more detail you provide upfront, the more accurate your quote will be. Key information includes: target shoe category and gender (men’s, women’s, kids’), intended use case (athletic, occupational, casual, orthotic), rough size run (US sizes, full or half sizes), construction preferences (single-layer vs. multi-layer, memory foam top, arch shell, etc.), any specific material requirements (vegan, antimicrobial, recycled content), target landed cost per pair, and annual volume estimate. A sketch, reference insole, or last specification file is also extremely helpful and accelerates the quoting process significantly.
Building a custom insole from concept to finished product is a process that rewards preparation, clear communication, and the right manufacturing partner. At FX Footwear (Fuxiang Group), we’ve supported brands, retailers, and OEM buyers through every stage of this journey — from first-brief conversations and material specification all the way through tooling, testing, bulk production, and compliant delivery to US warehouses. If you’re ready to start your custom insole program or want expert input on a construction you’re already considering, reach out to the FX Footwear team and let’s build something worth wearing.